How a tiling job comes together
Good tiling starts before the first tile is fixed. These illustrative images explain the preparation, fitting and finishing stages to discuss with us when planning your project.
From bare floor to finished surface
The same sequence on every job, whether it is one bathroom or a full house.
-
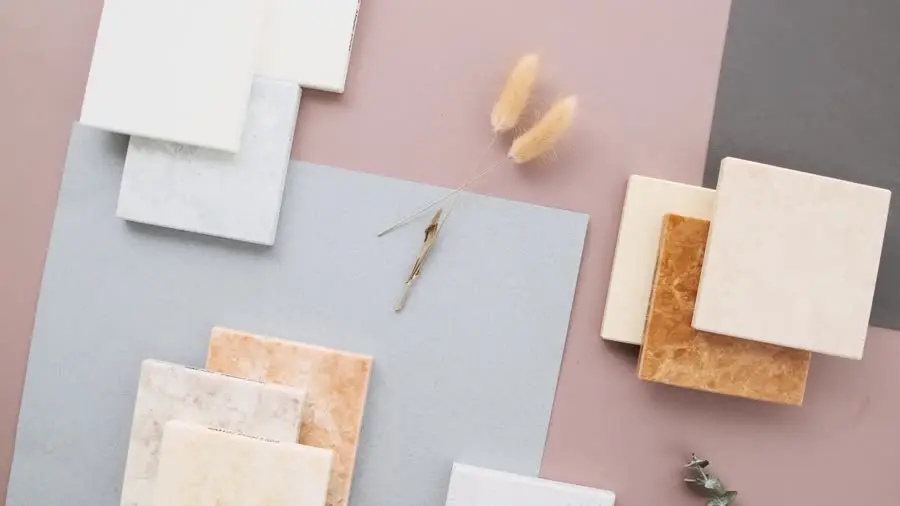
Material & design selection
Tile type, size and colour chosen before anything is cut. This is where most of the final look is actually decided.
-
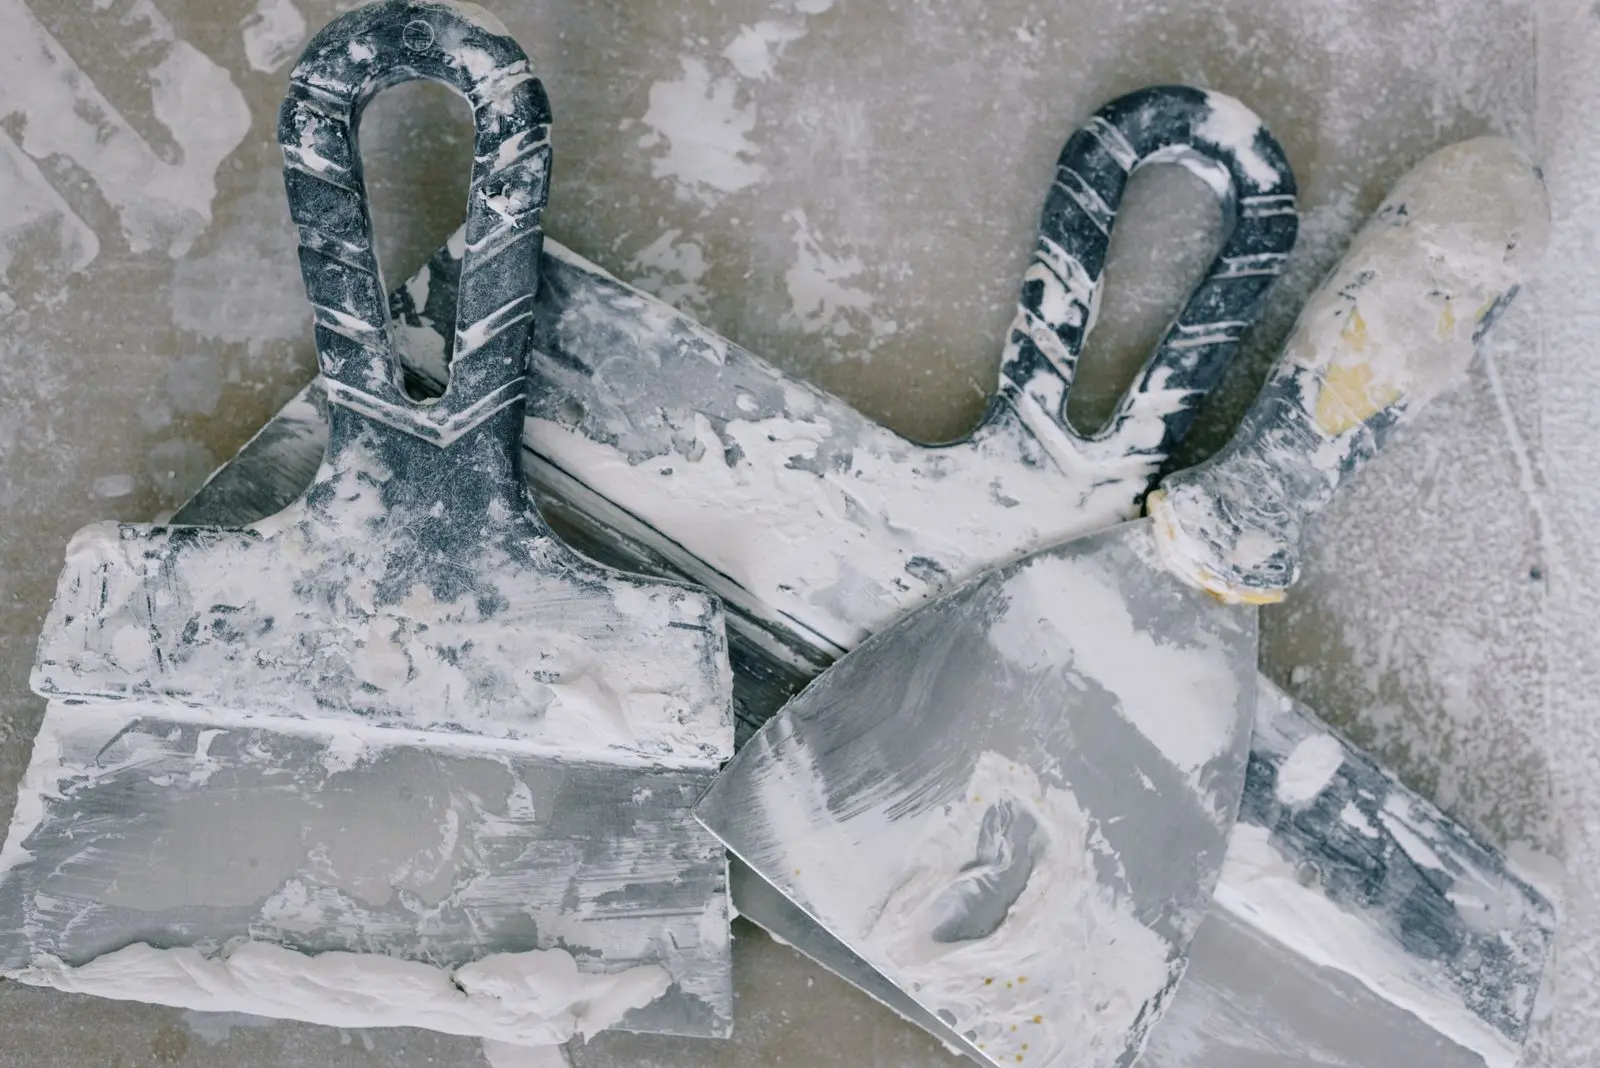
Preparation & measurement
Surface checked for level, low spots filled, the room measured exactly and the layout planned on paper first.
-
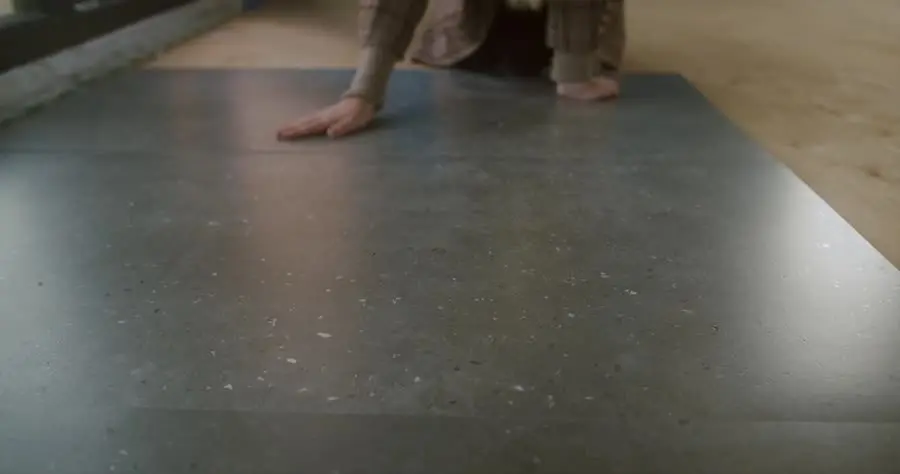
Cutting & fitting
Tiles cut and dry-fitted around edges, doorways and fixtures, so cuts land where they are least visible.
-
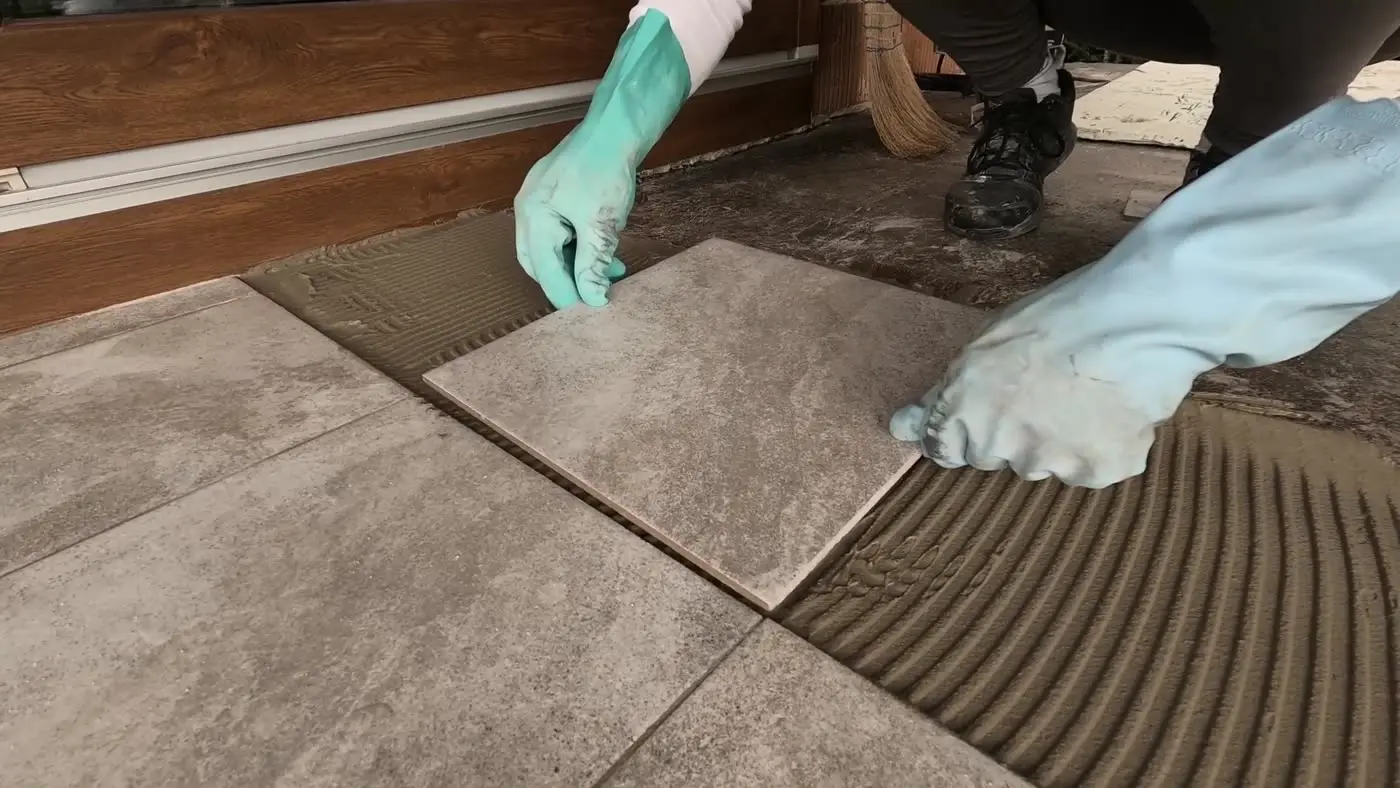
Laying & levelling
Each tile set, spaced and checked while the adhesive is still workable — not after it has gone off.
-
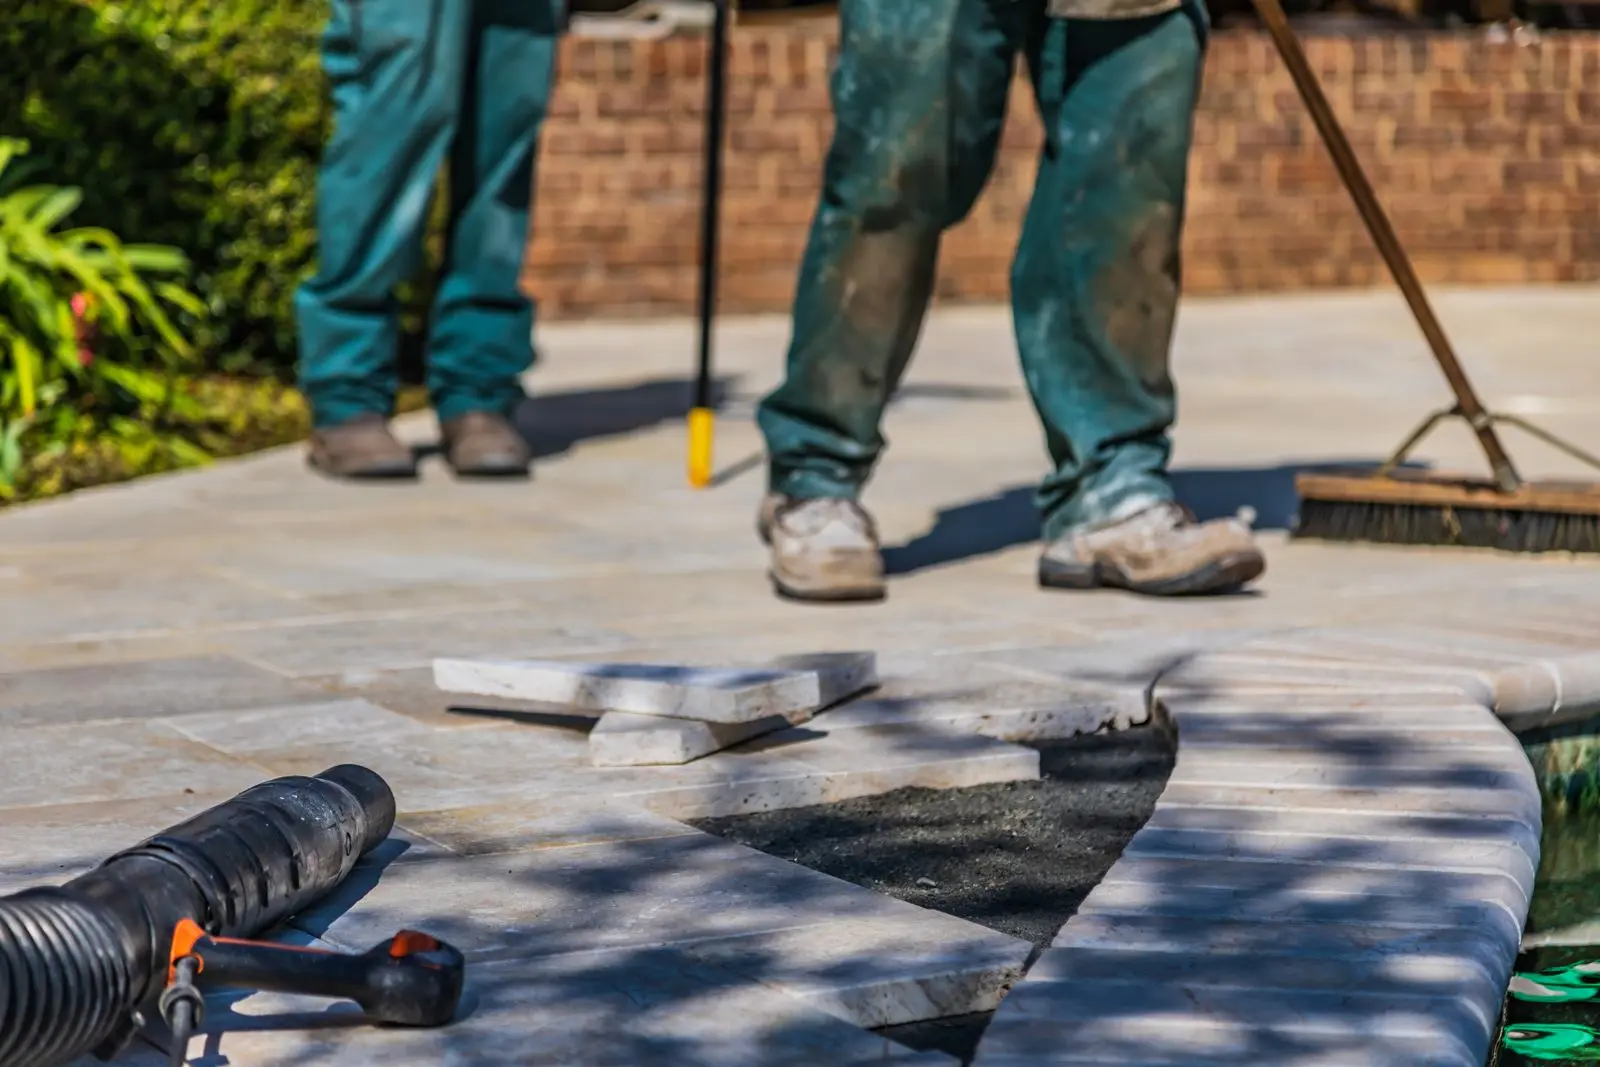
Grouting & handover
Grout lines filled and cleaned, silicone at the junctions, haze removed, waste taken away.
Want this level of care on your own home?
Send a photo of the space on WhatsApp and we will walk you through exactly what your job would involve.